Projects, drawn and built

Three entries from the current portfolio. Each one lists the brief, the site constraint, the drawing set that was issued and the materials that ended up in the room. Plans, sections and axonometrics are kept alongside the site photography, so you can see how a decision was made and not only how it looks finished.

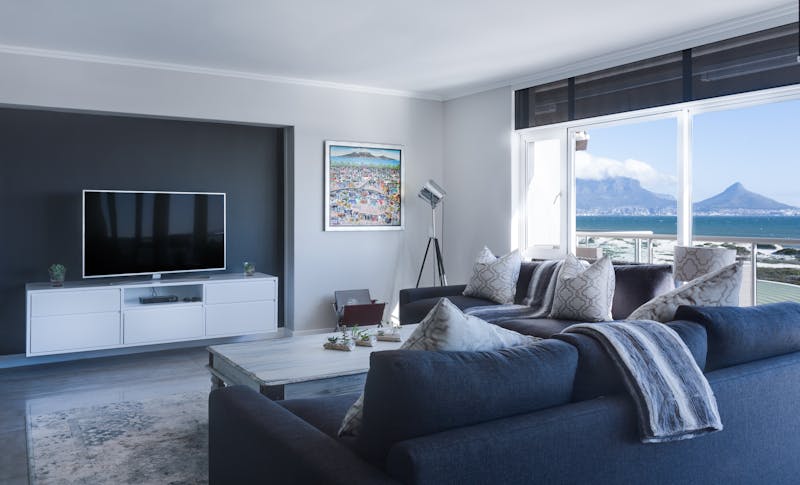
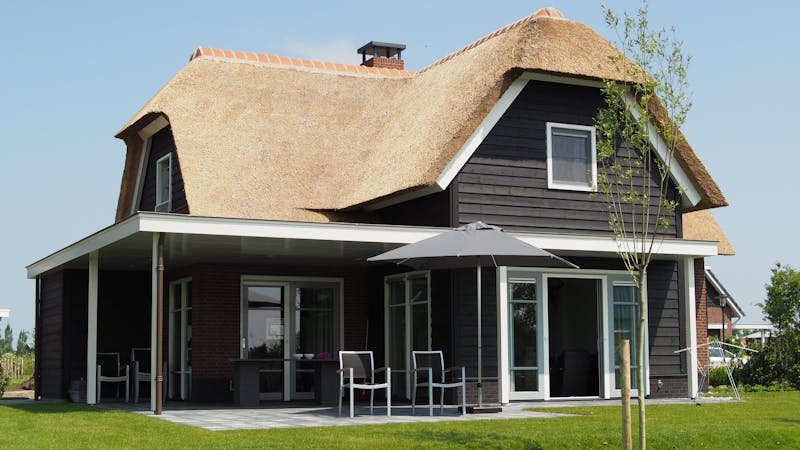
Rear extension of a Victorian cottage with timber-framed glazing opening onto a small courtyard

Observatory Cottage Rear Extension

Opening a tight Victorian footprint to a north-facing courtyard

The brief asked for a kitchen, dining and reading room without losing the two front bedrooms or the heritage streetscape. The constraint was a 4.2 m deep site boundary and a mature fig tree that could not be moved. The drawing set includes existing and proposed plans, a section through the new roof junction and an axonometric of the joinery run. Timber is locally sourced saligna for the window frames, with a lime-washed brick pier holding the old wall line. The budget was held by keeping the wet core in place and spending on the glazing and the floor.

See the drawing set
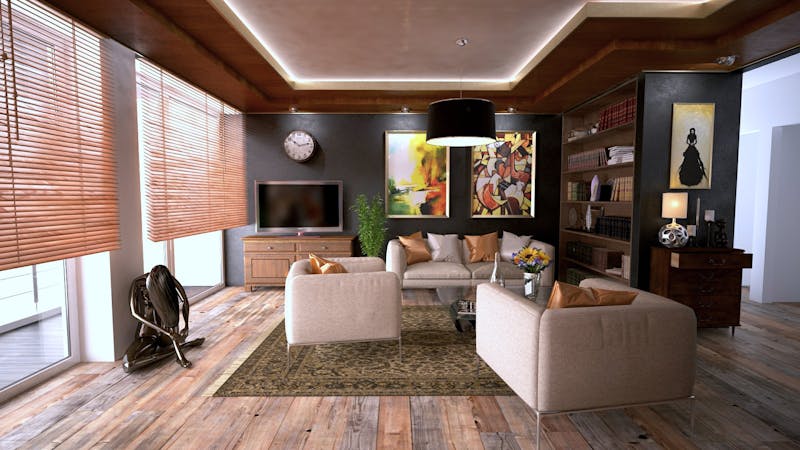
Design studio interior with a long timber drafting table and exposed brick walls

Woodstock Studio Fit-Out

A working drawing studio in a former textile warehouse bay

The unit is a 68 sqm bay in a Woodstock warehouse with exposed brick, a north clerestory and a floor that slopes 90 mm across the width. The fit-out levels the work zone with a raised timber platform and leaves the rest of the floor as found. Drawings cover the platform framing, the electrical layout for task lighting and a detail of the pinboard wall. Materials are birch ply, blackened steel for the shelving and a cork pin surface. The client wanted the space to read as a workshop, not an office, so the services are left visible and the storage is open.

See the drawing set
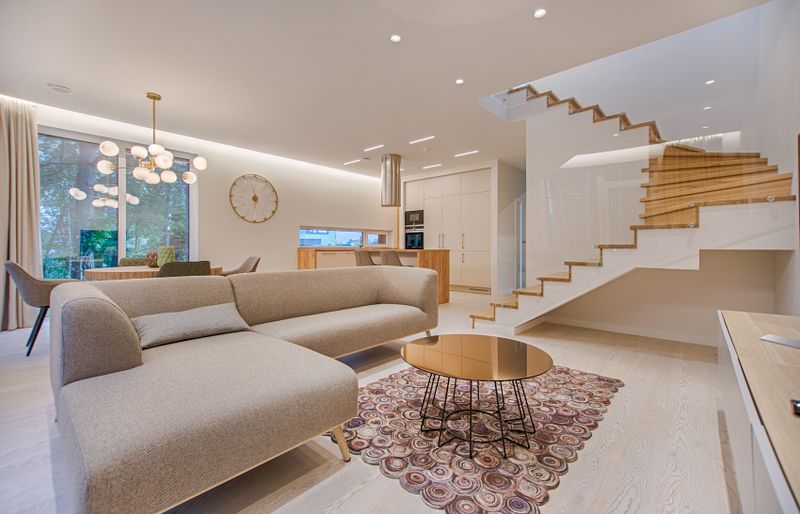
Compact apartment interior with a full-height timber joinery wall and recessed desk

Sea Point Apartment Joinery

Storage, desk and sleeping alcove in a 52 sqm flat

The flat had three doors on one wall and no usable storage. The proposal replaces the partitions with a 6.4 m joinery wall in oak-veneered ply, with a recessed desk and a bed alcove that borrows light from the living room. The drawing set includes a full elevation, a plan at 1:20 and a section through the alcove soffit. Tile layout in the kitchen was kept to full modules to avoid cuts at the visible edge. The client is a remote worker who needed the desk to disappear at the end of the day, so the alcove has a sliding panel rather than a fixed screen.

See the drawing set

What the drawings actually show

Three sheets pulled from the current set. Each one pairs a drawing with the room it produced, so you can read the constraint before you look at the finish.

Travis Ronaldson projects

Sheet 01 - Plan and section

Observatory rear extension

The section through the new roof junction is where the whole project was decided. Keeping the wet core in place freed the glazing budget, and the stepped courtyard lets the fig tree stay.

Travis Ronaldson projects

Sheet 02 - Platform framing

Woodstock studio fit-out

A 90 mm slope across the bay, levelled with a raised timber platform. Services stay exposed, storage stays open, and the pinboard wall detail is drawn at full size.

Travis Ronaldson projects

Sheet 03 - Joinery elevation

Sea Point joinery wall

One 6.4 m oak-veneered run replaces three doors and a dead wall. The alcove soffit section shows how the desk disappears behind a sliding panel at the end of the day.

How a drawing set becomes a finished room

Every entry in the portfolio follows the same route, from the first walk-through to the handover notes. The steps below are the ones that actually shape the outcome, not a marketing sequence.

  1. Step 01

    Site visit and measured survey

    I measure the existing rooms by hand, check floor levels and note what the plans on record miss: the sloping slab in Woodstock, the blocked chimney in Observatory, the door swing that never worked in Sea Point.

  2. Step 02

    Brief and constraint notes

    We write down what the space has to do, then what it cannot do. Boundary setbacks, heritage lines, the fig tree that stays, the wet core that is too costly to move. This page of notes decides most of the design.

  3. Step 03

    Spatial planning and options

    Two or three layouts, drawn at 1:50, tested against circulation and light. I sketch over the survey rather than starting clean, so the existing walls stay visible in the thinking.

  4. Step 04

    Drawing set and material boards

    Plans, sections and an axonometric of the joinery run, plus a board of saligna, oak-veneered ply, lime-washed brick and tile modules. Joinery details are drawn at 1:5 so the carpenter is not guessing on site.

  5. Step 05

    Site coordination

    I visit during framing and first fix, check the platform levels and the tile setting-out, and resolve the small conflicts that only appear once the walls are open. Trade clients get the same drawings, marked up as built.

  6. Step 06

    Handover and record

    Final photography, the as-built set and a short note on what we would do differently. Those notes feed the next project, which is why the portfolio reads as a working record rather than a gallery.

The same sequence applies whether the job is a rear extension or a 6.4 m joinery wall. If you want to see how it played out on a specific site, the Observatory cottage and full process notes are the clearest examples.

Cookie settings

We use cookies to keep the site reliable, remember basic choices, and understand which pages are useful. You can accept, reject, or review the settings before continuing.